DIY: Candle Making
I've been wanting to take a class at Work/Shop, a newer botanical gift shop and collective workspace in Portland. I finally signed up for their candle making class this past weekend, and was so excited to check out the shop and learn how to make my own candles.
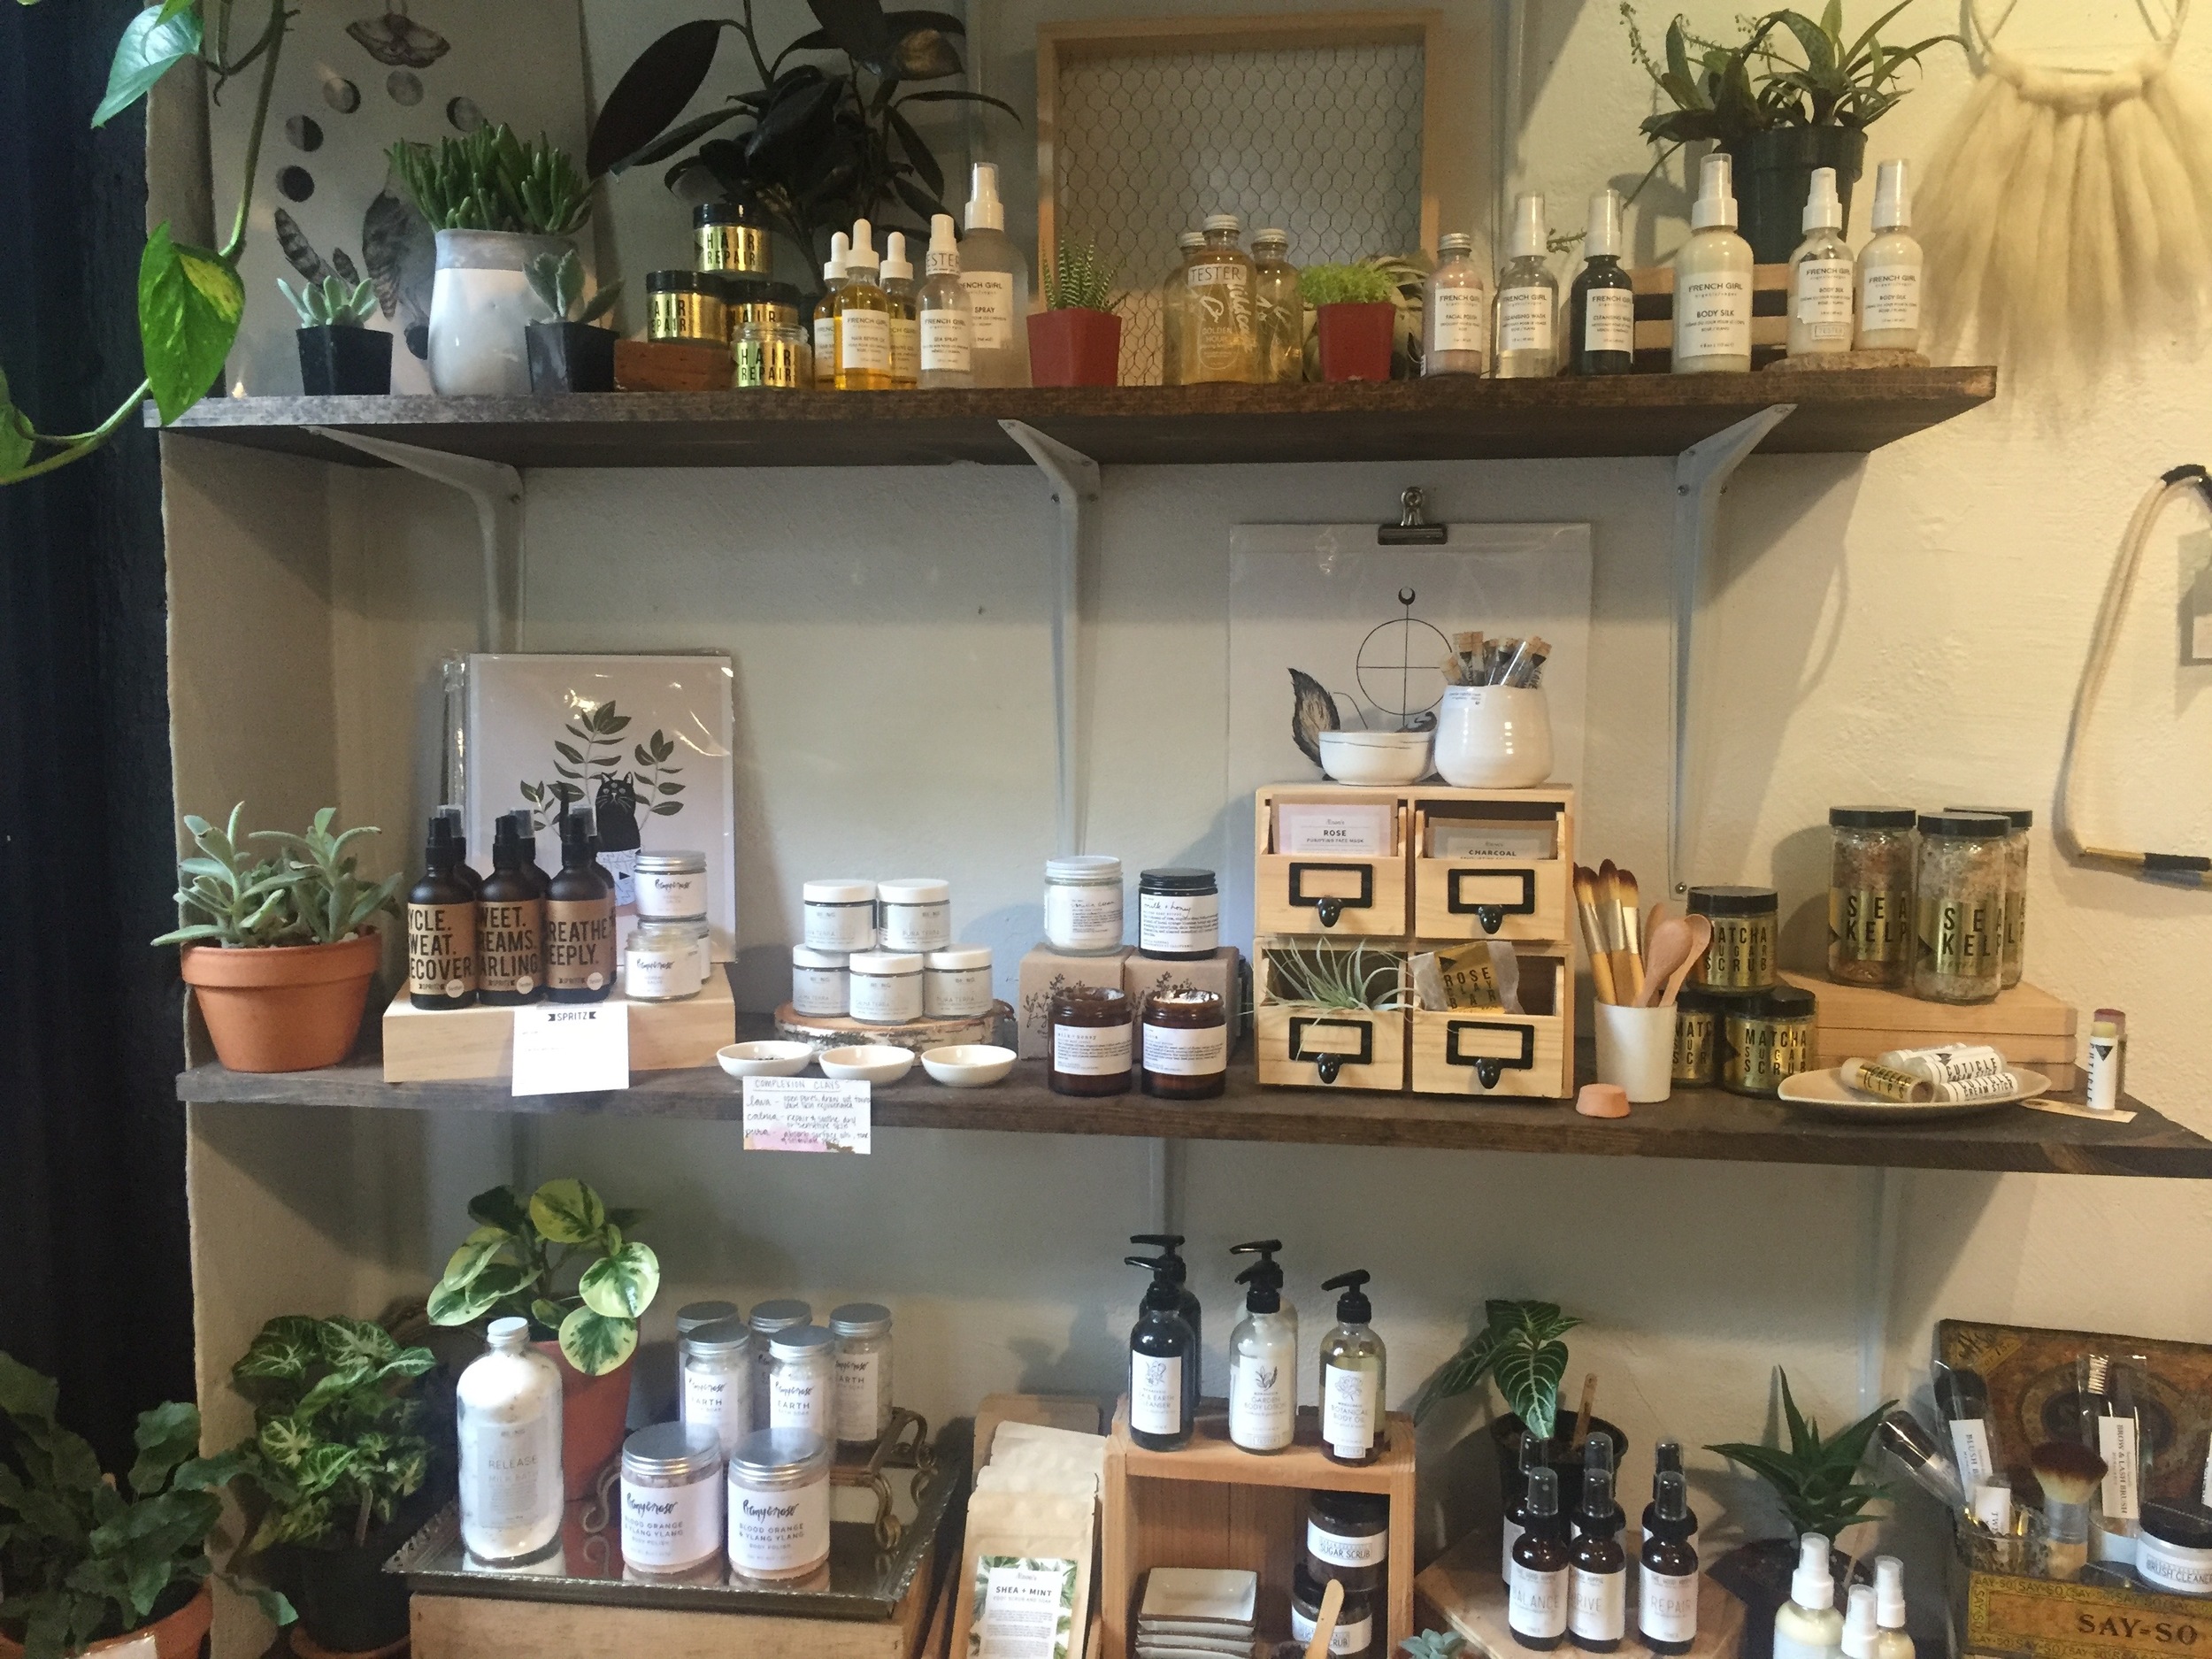
Let me start by saying that Work/Shop is my dream store. They had so many plants, cute desk accessories (I stocked up on some fun new Washi tape), candles, flowers, everything that you have to have. Looking around the shop was half the fun. The best news is that it is only a few blocks from my house, so I might be stopping in quite often!
The class itself was perfect- they kept the group small (no more than 10 people) to keep it intimate and make sure you got good personal attention. They provided mimosas, pastries and fresh fruit to us, which was so tasty. Candle making was surprisingly much easier than I expected! The process seems pretty simple, and making the candles took barely any time. By the end my friend Lauren and I were so comfortable we were joking that candle making is our new calling!
Below I have listed the supplies (with a few links to products) and instructions for you to make your own candles at home!

Supplies
- Wax Flakes
- Fragrance Oil
- Wicks
- Clothespins
- Candle Containers
- Electric Burner
- Glue Gun
- Candy Thermometer


Instructions
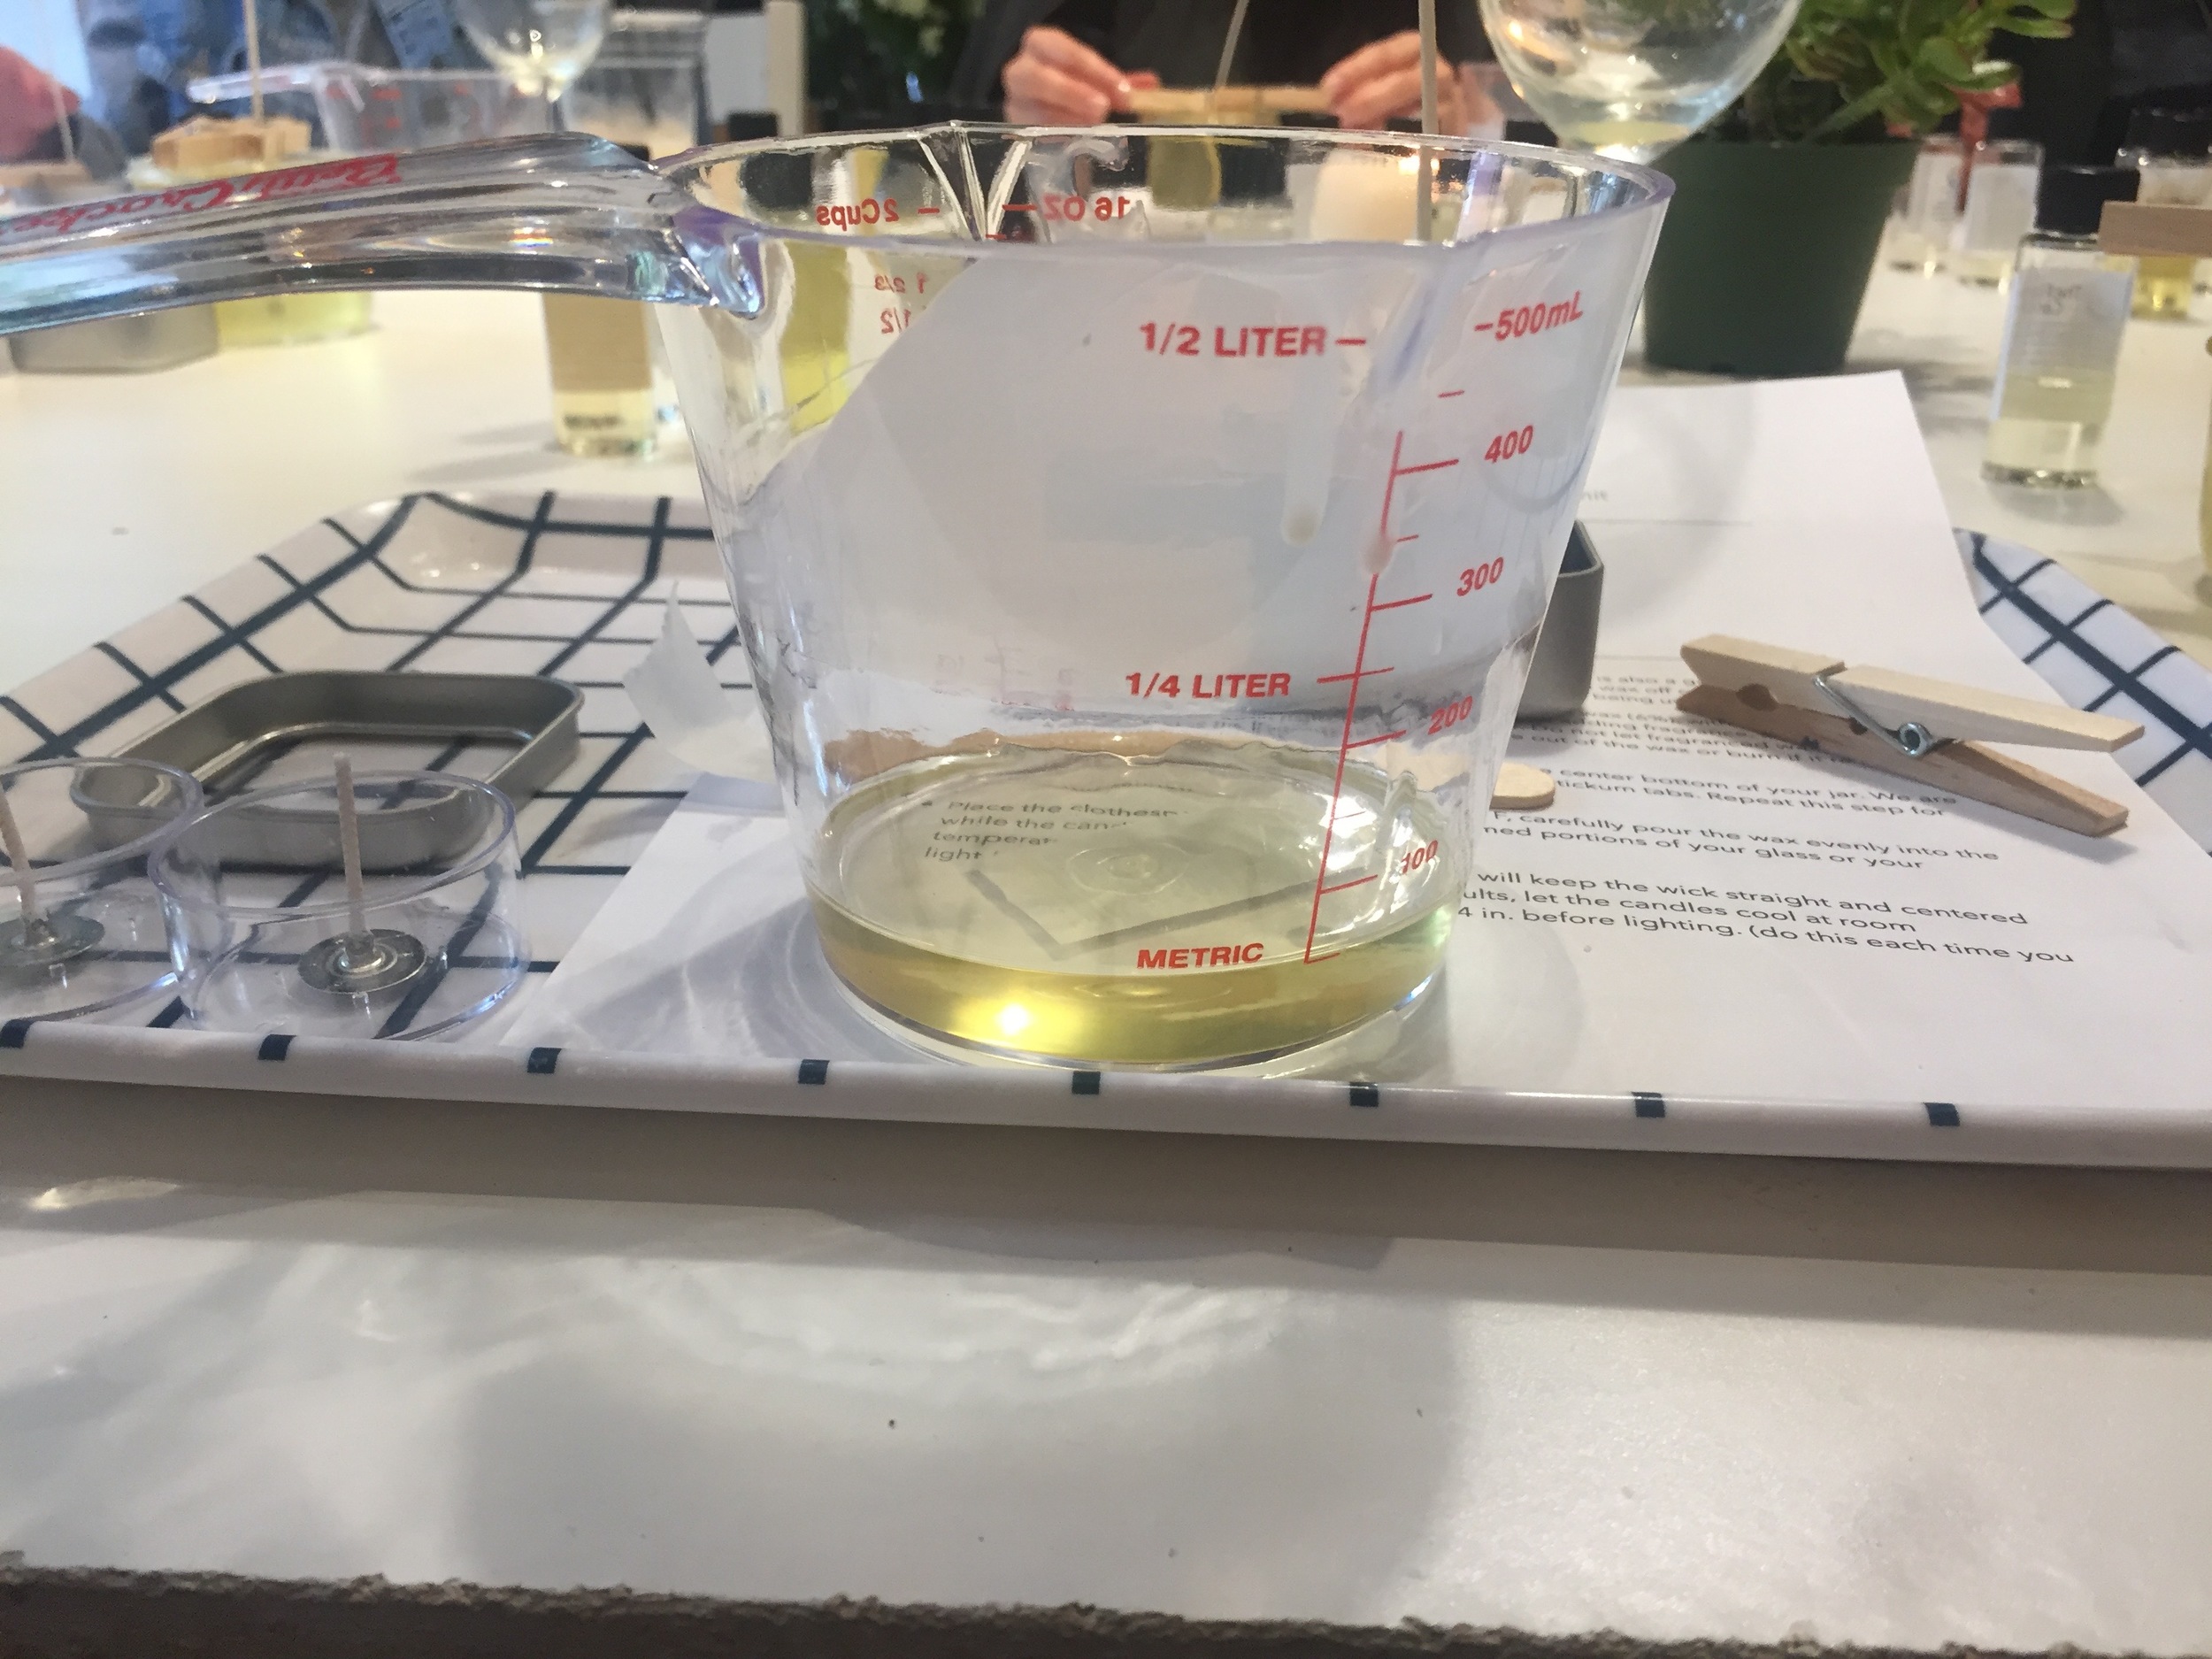
- Melt soy wax flakes. Heat wax to a range of 185-200F. It is also a good idea to pre-heat the glass to avoid "pull-away" (this can be done by putting in the oven at a low temperature or warming with a hair dryer). Take wax off heat and let cool to a bit lower than the flash point range for fragrance being used. If there is no flash point listed, 147F is a safe temperature.
- Add fragrance. The rule of fragrance is 1oz per 1lb of wax (6%) with a maximum load of 10-12% depending on the scent. When adding fragrance stir well until clear. Do not let fragranced wax continue to heat as the fragrance will evaporate out of the wax or burn if it reaches its flash point.
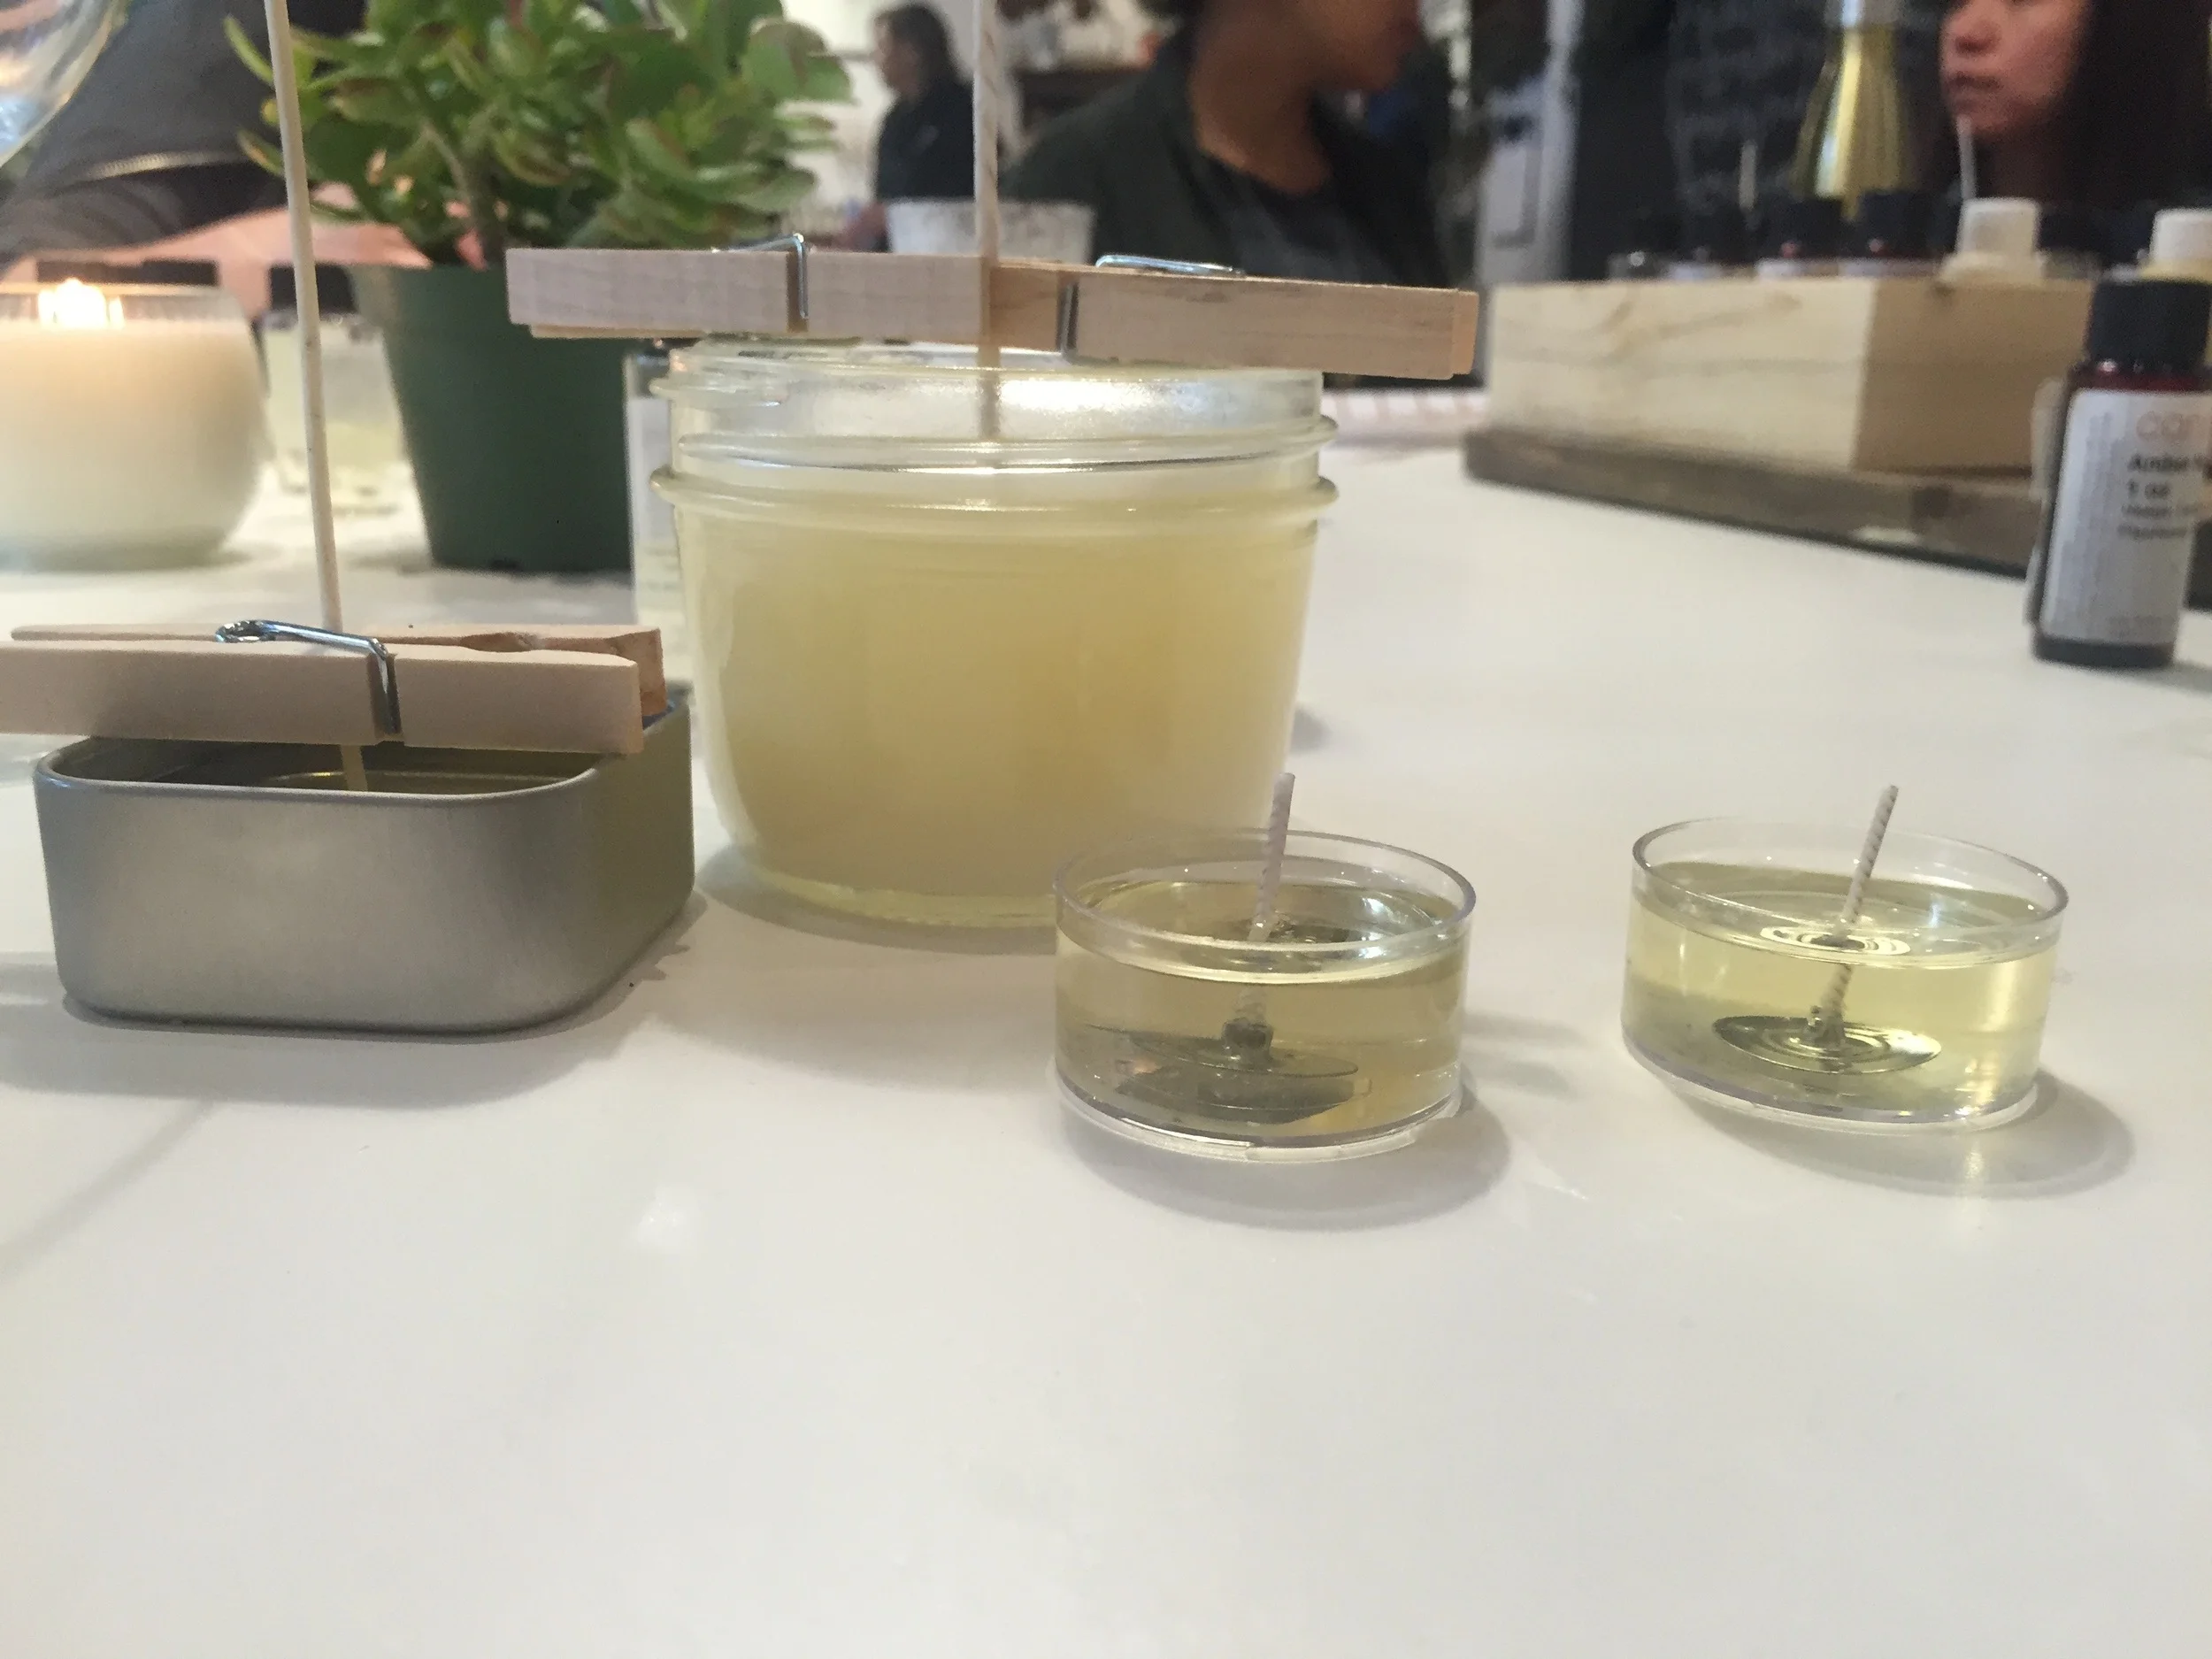
- While the wax is cooling (no less than 135F) place your wick into the center bottom of your jar using hot glue.
- Place the clothespin over your wick. This will keep the wick straight while the candle is cooling. Let the candles cool at room temperature overnight. Trim wick to 1/4 inch and enjoy!