Our Backyard Sheet Mulching Project
I’ll be the first to admit that we did not take great care of our yard after moving in to our house in late 2021. It was winter when we moved in, and Vivian was born in March, so that spring and summer the last thing on our minds was taking care of the yard! We did some basic things, but not much.
We decided that summer 2023 we would tackle the yard and make it look great! Again, life got the better of us and we are just finally completing our big yard project - sheet mulching! In early 2023 we met with Magi Treece of Living Structures, a garden designer, for a landscape consultation. At that point the area of our backyard that wasn’t grass was really overgrown with weeds, bushes that had seen better days, and our yard just generally did not look good.
Magi helped us decide which plants to remove, told us some good options of plants that would do well in our backyard (it has a bit of a slope so the bottom portion is more wet than some yards) and suggested instead of trying to pull the weeds we should sheet mulch it to give us a nice blank slate!
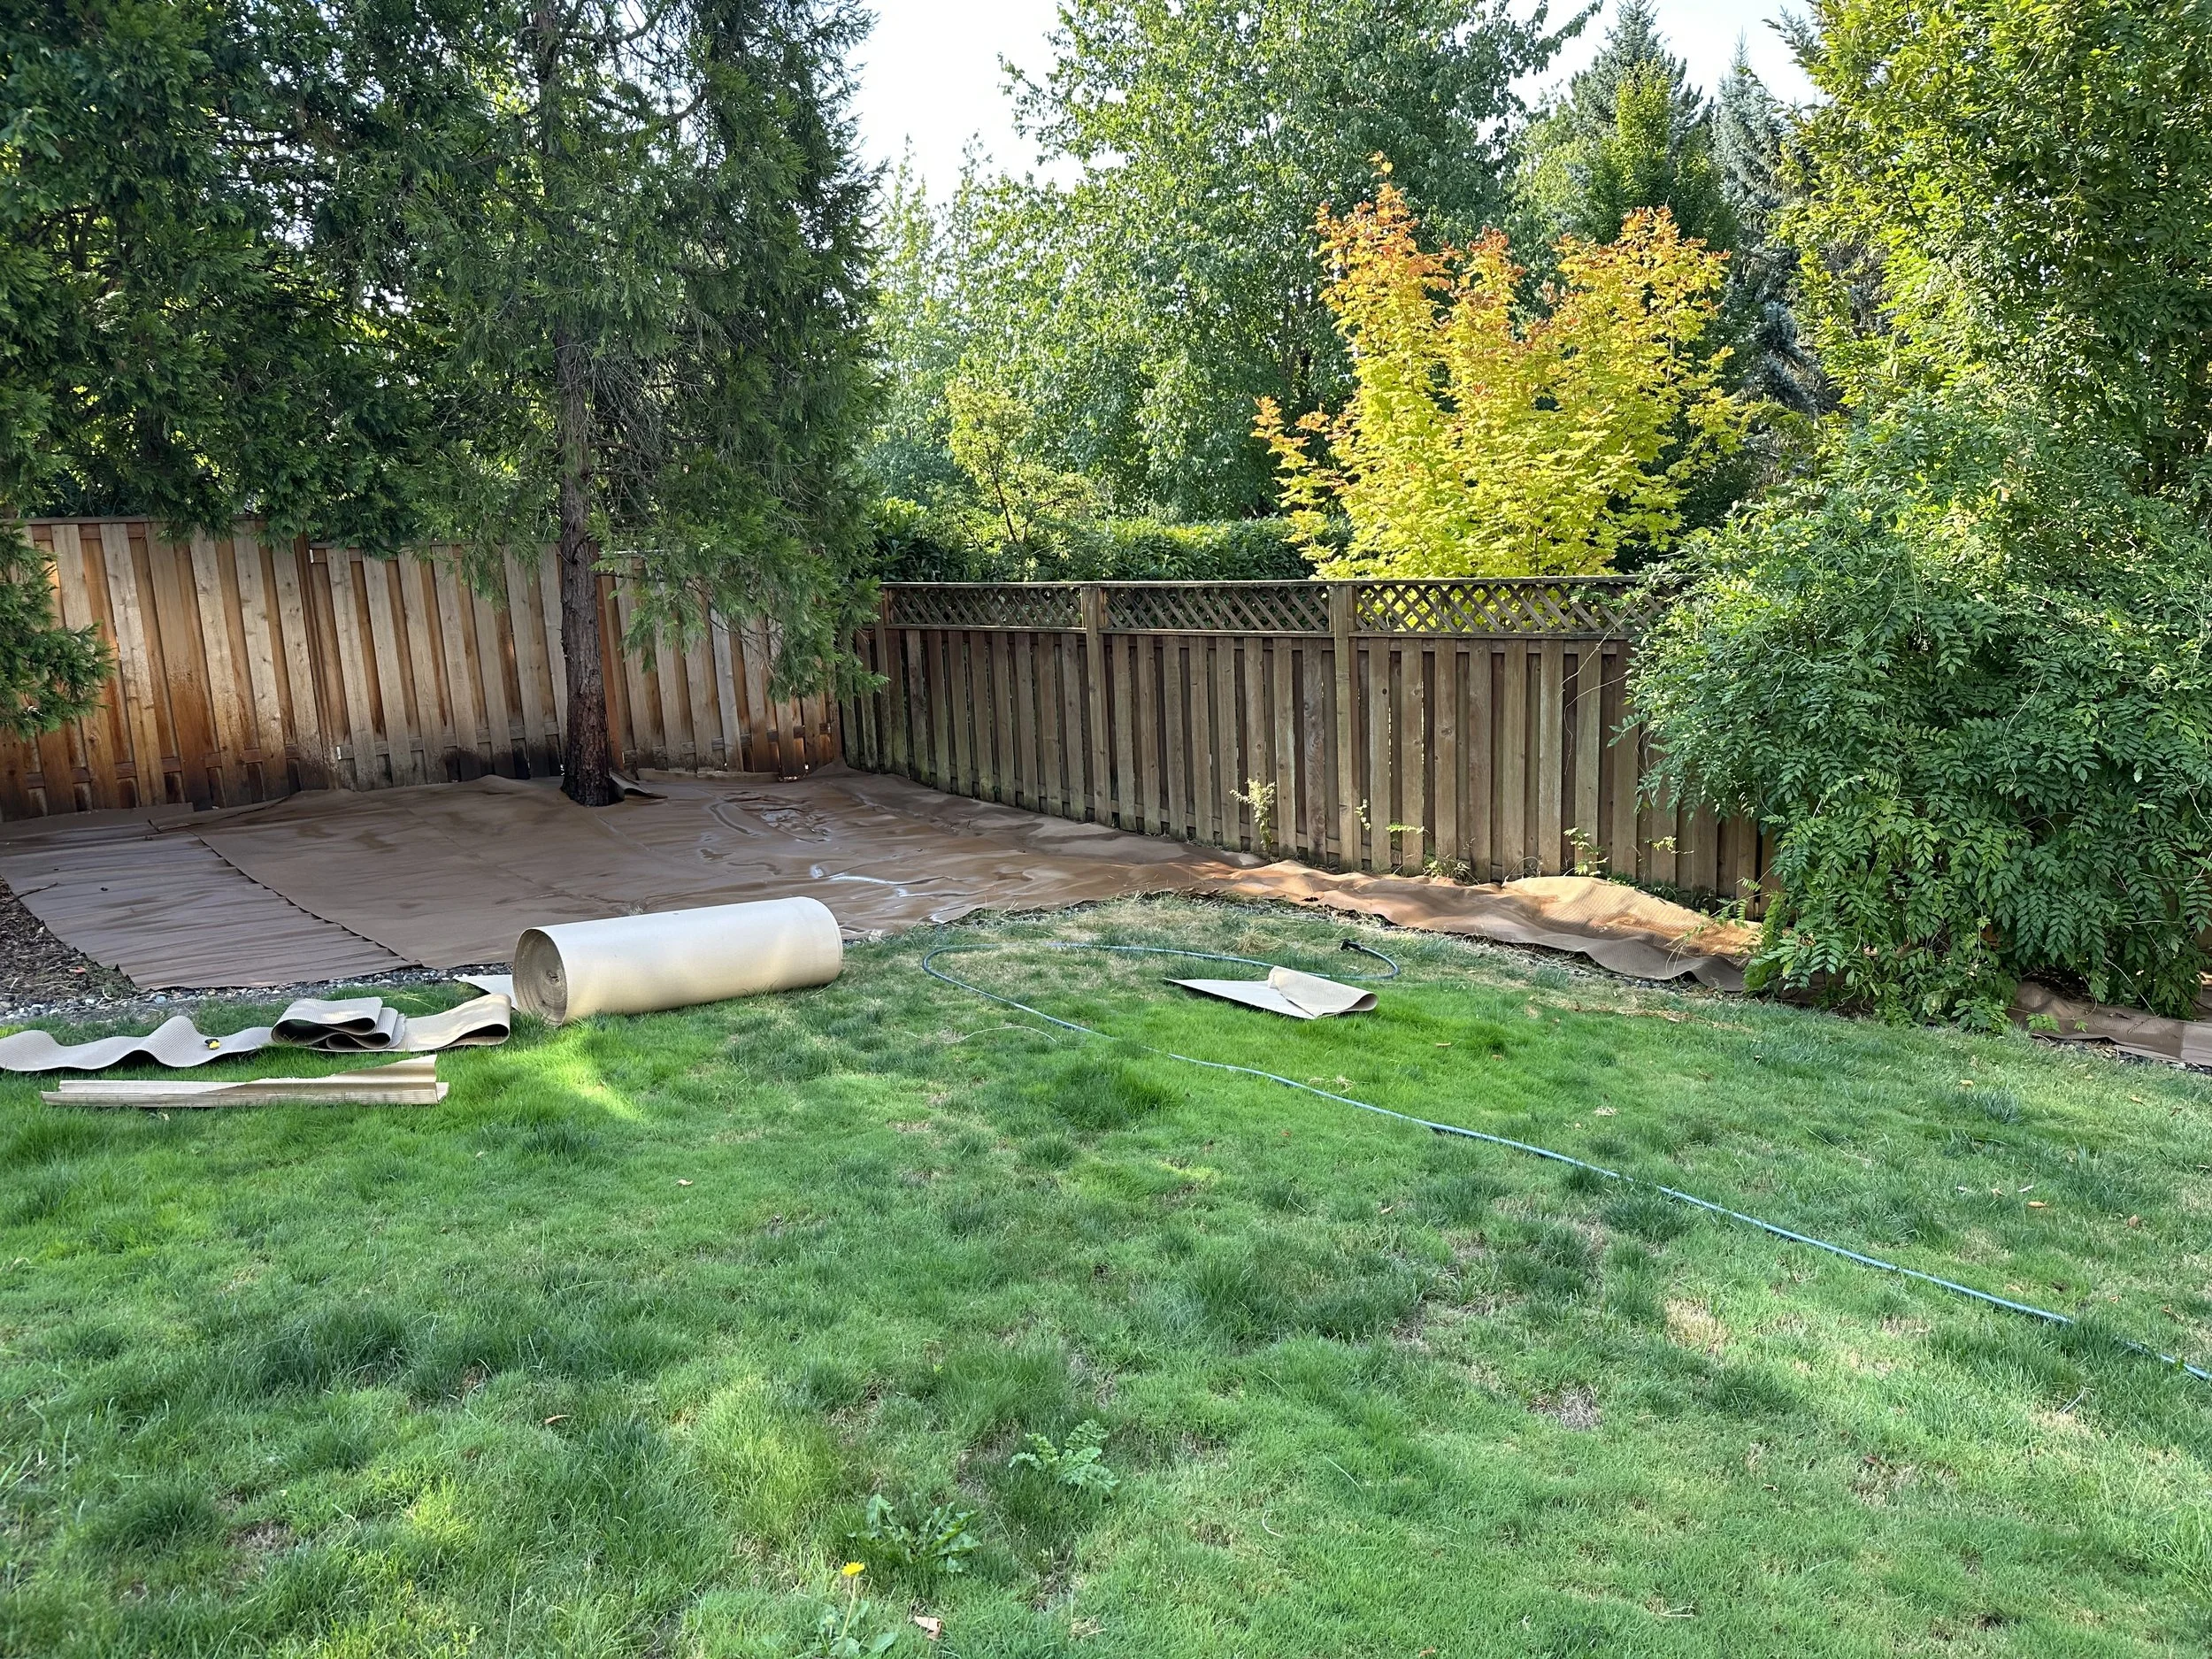
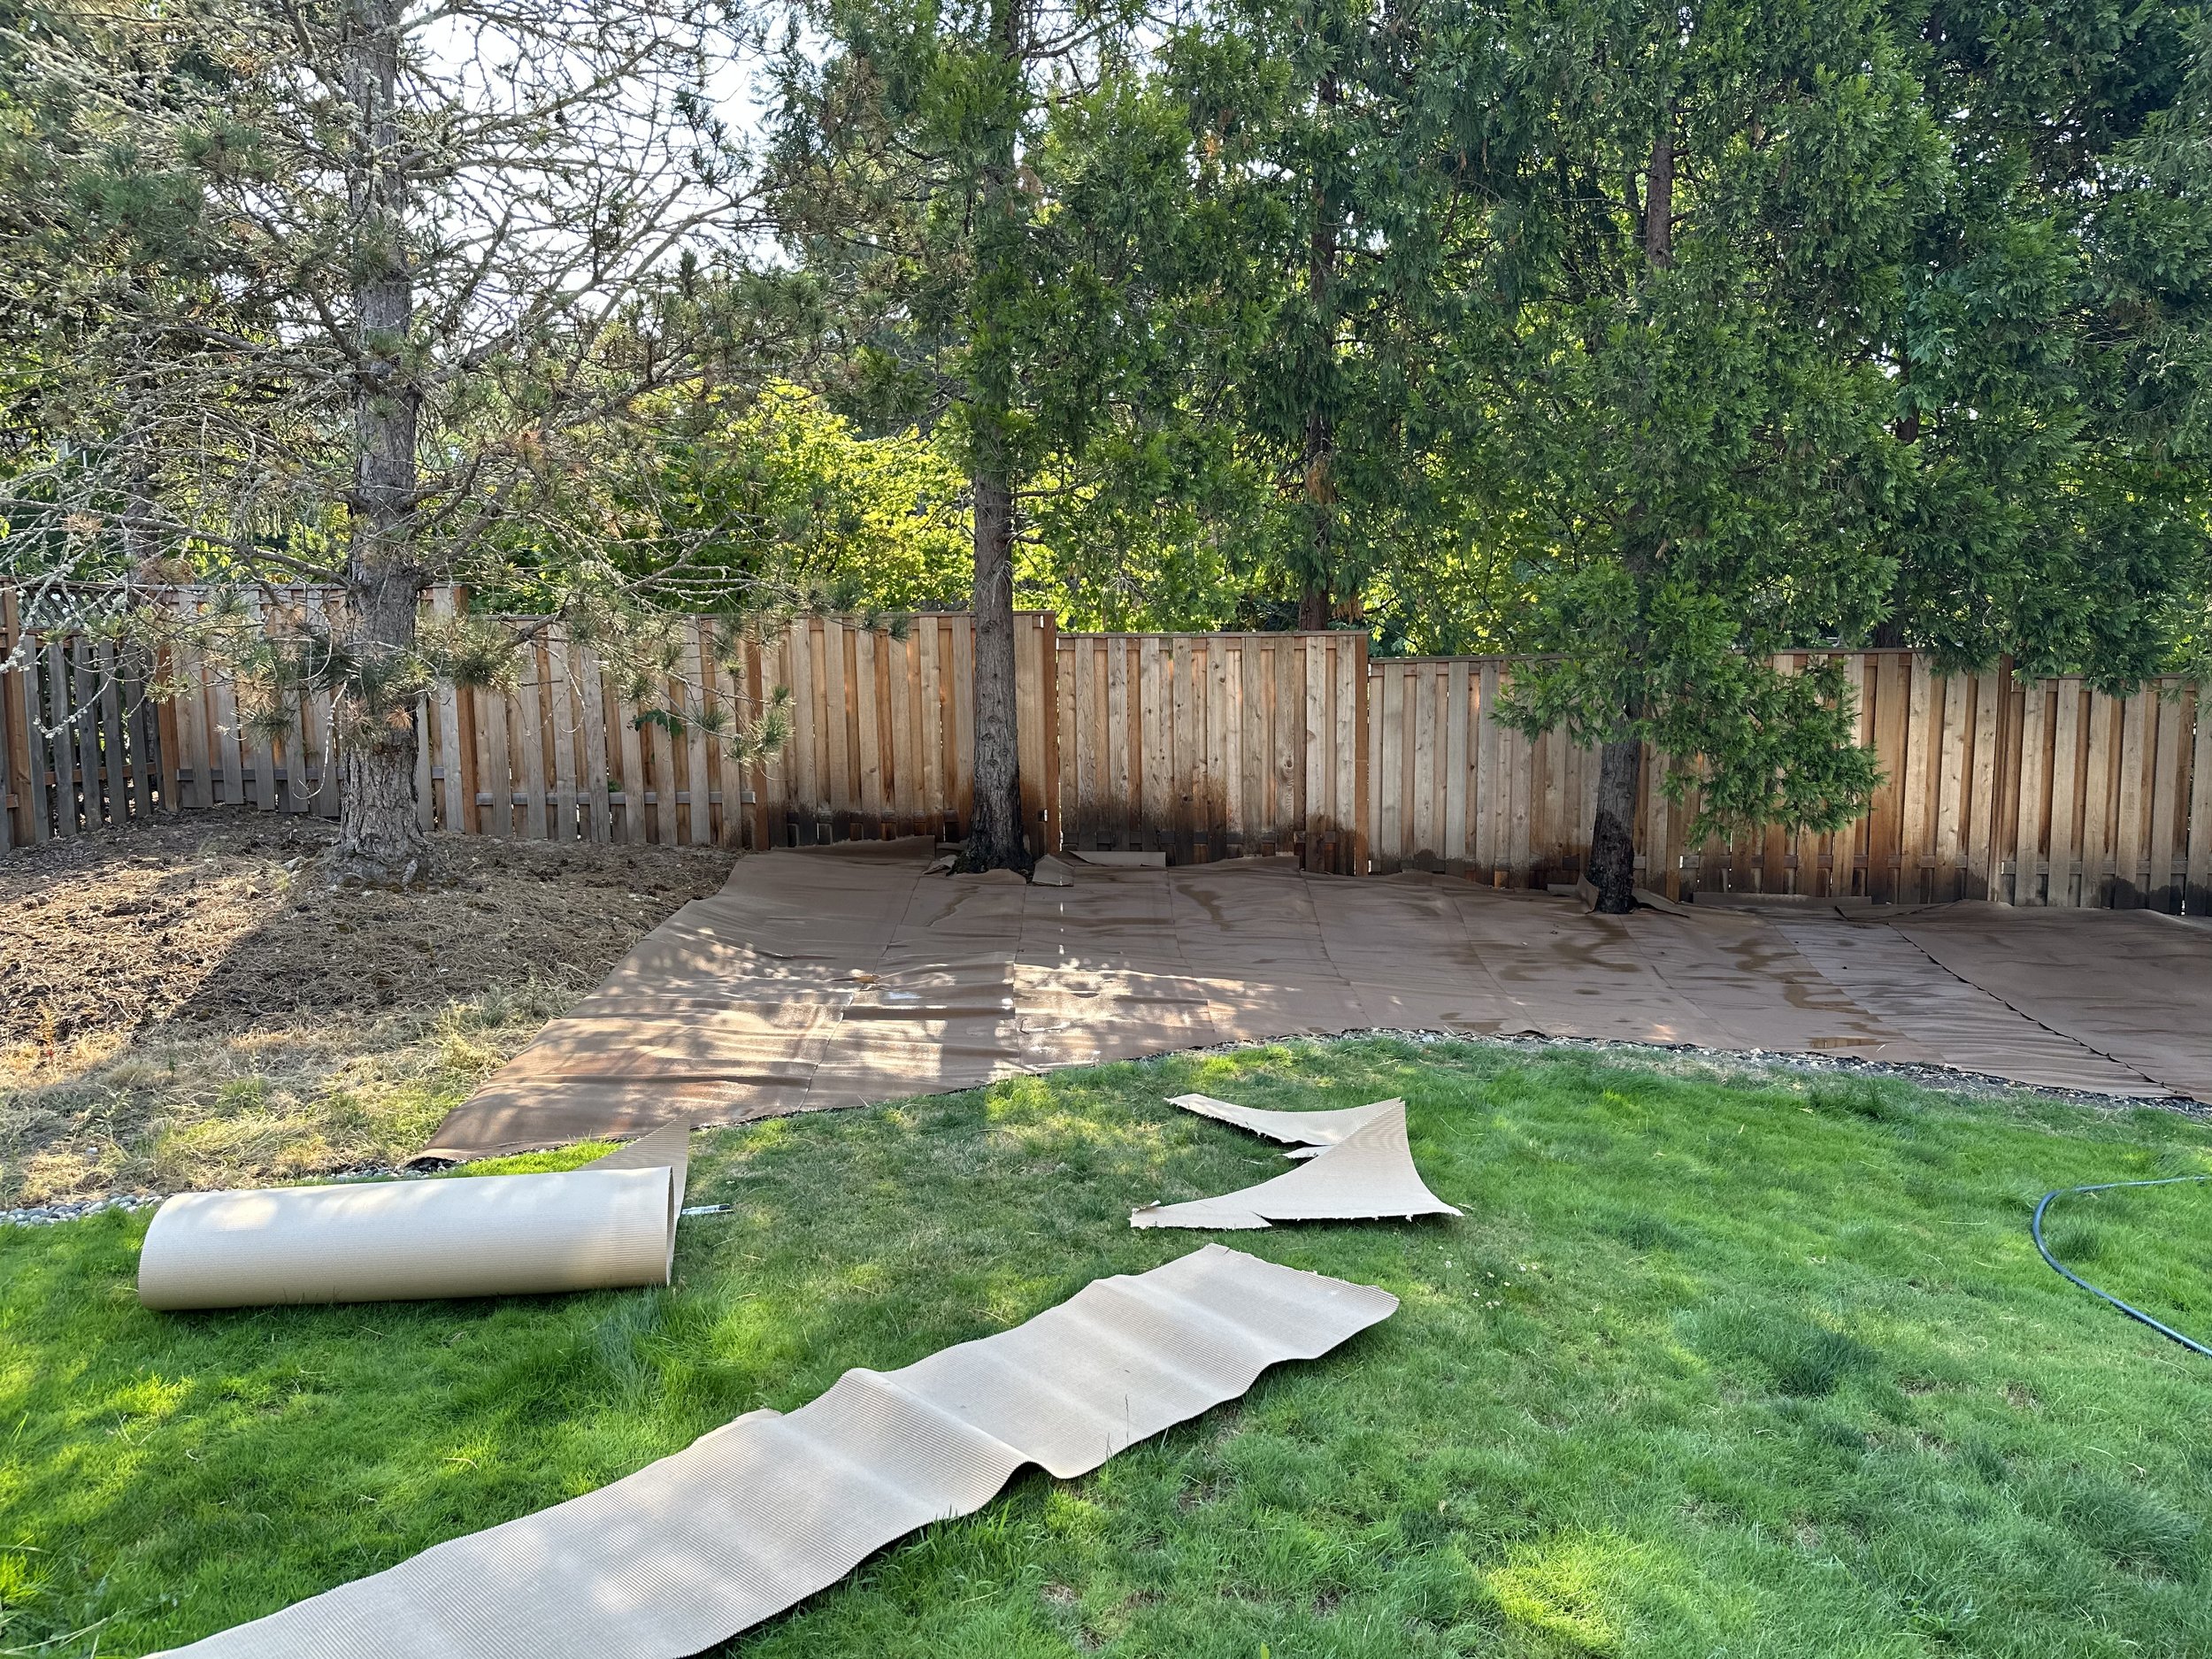
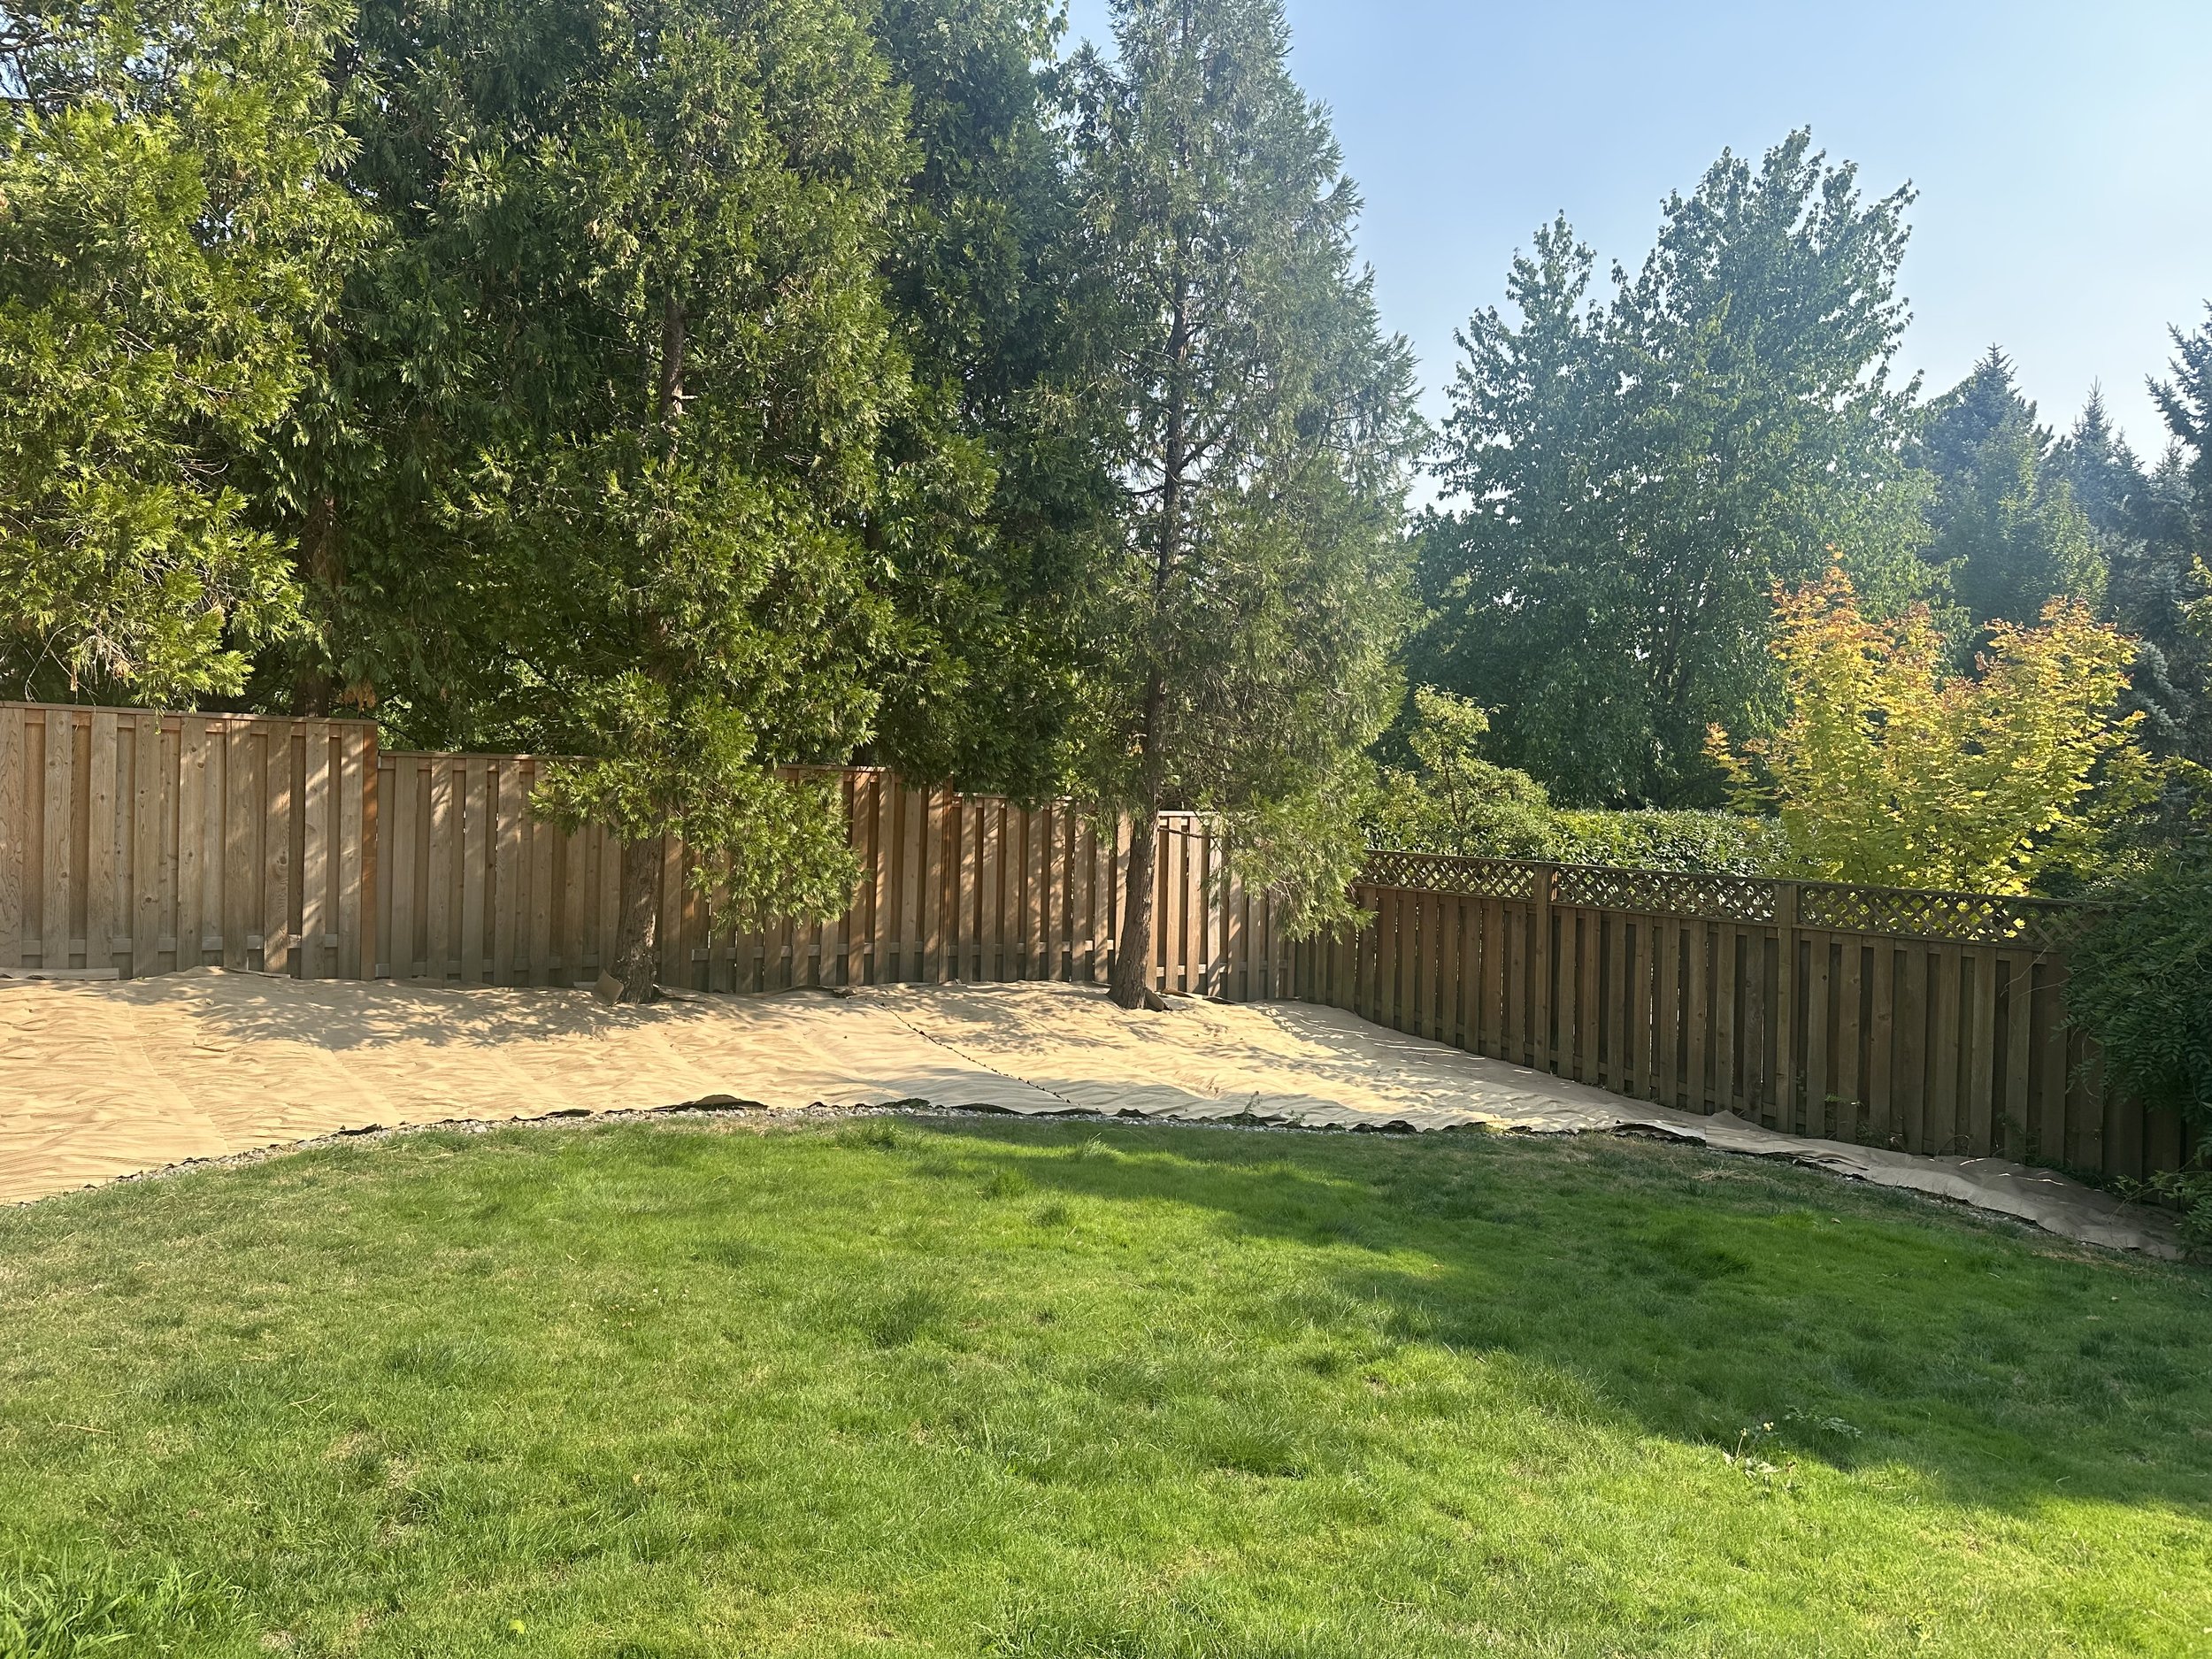
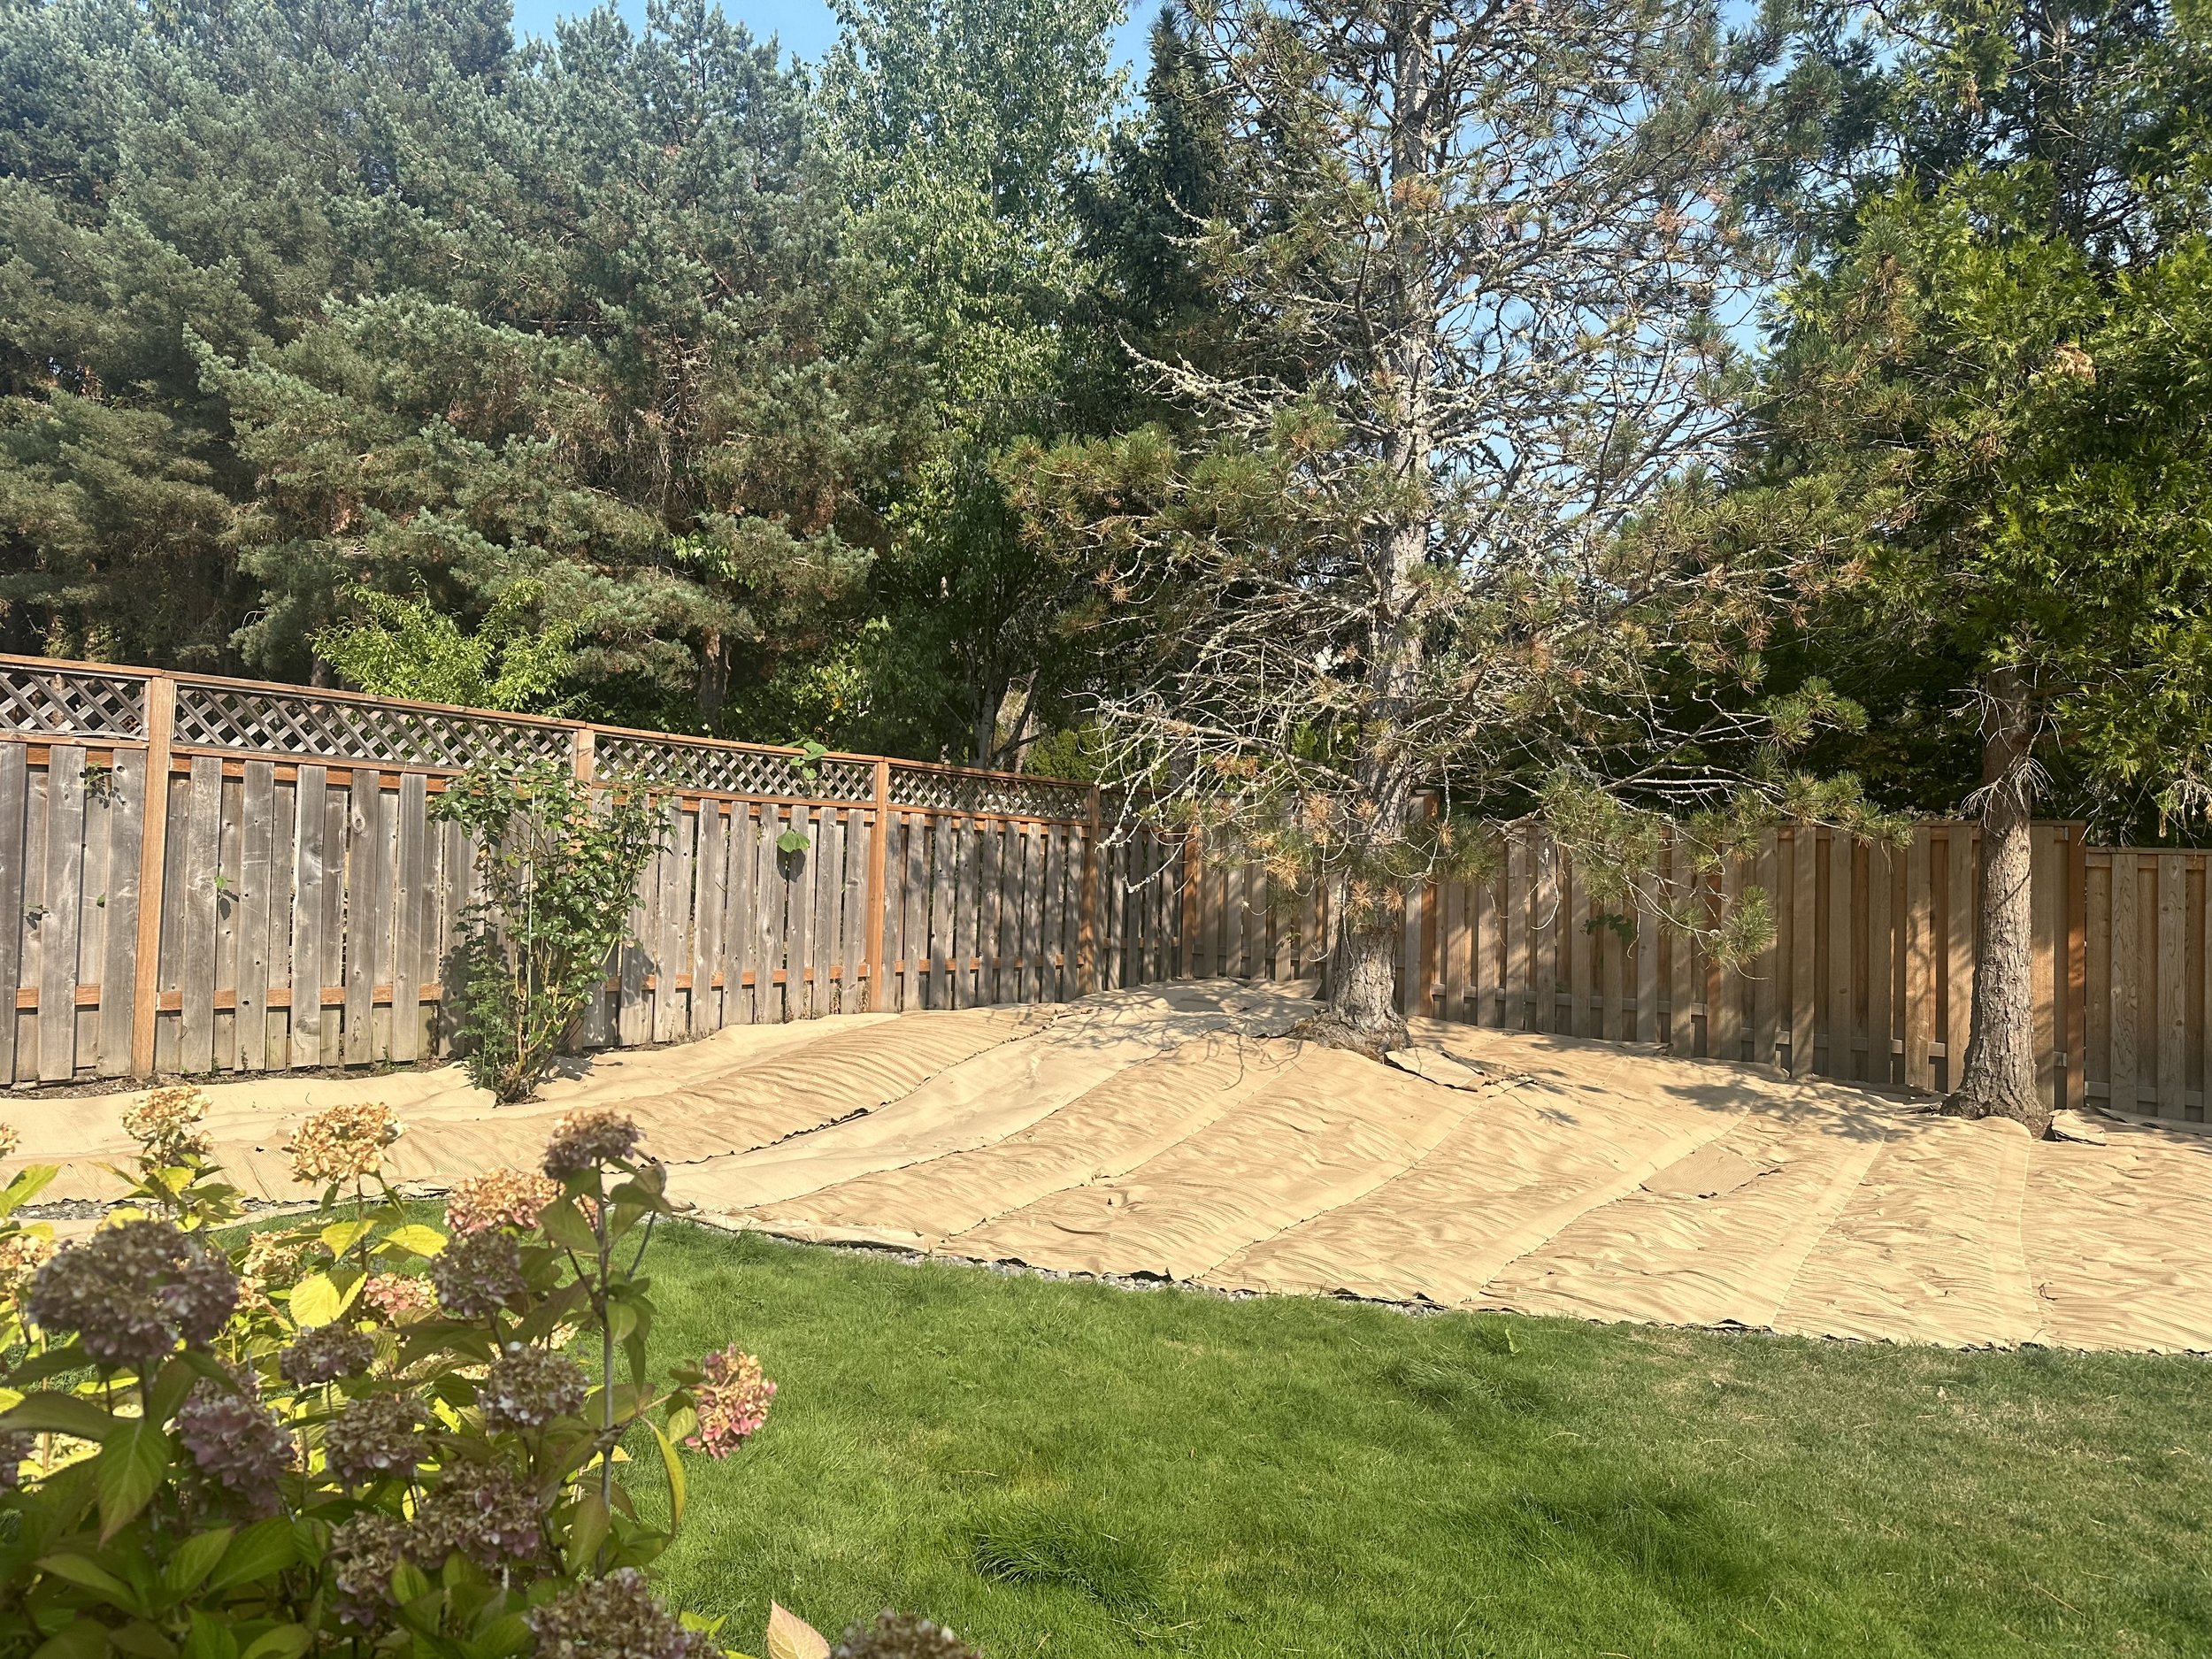
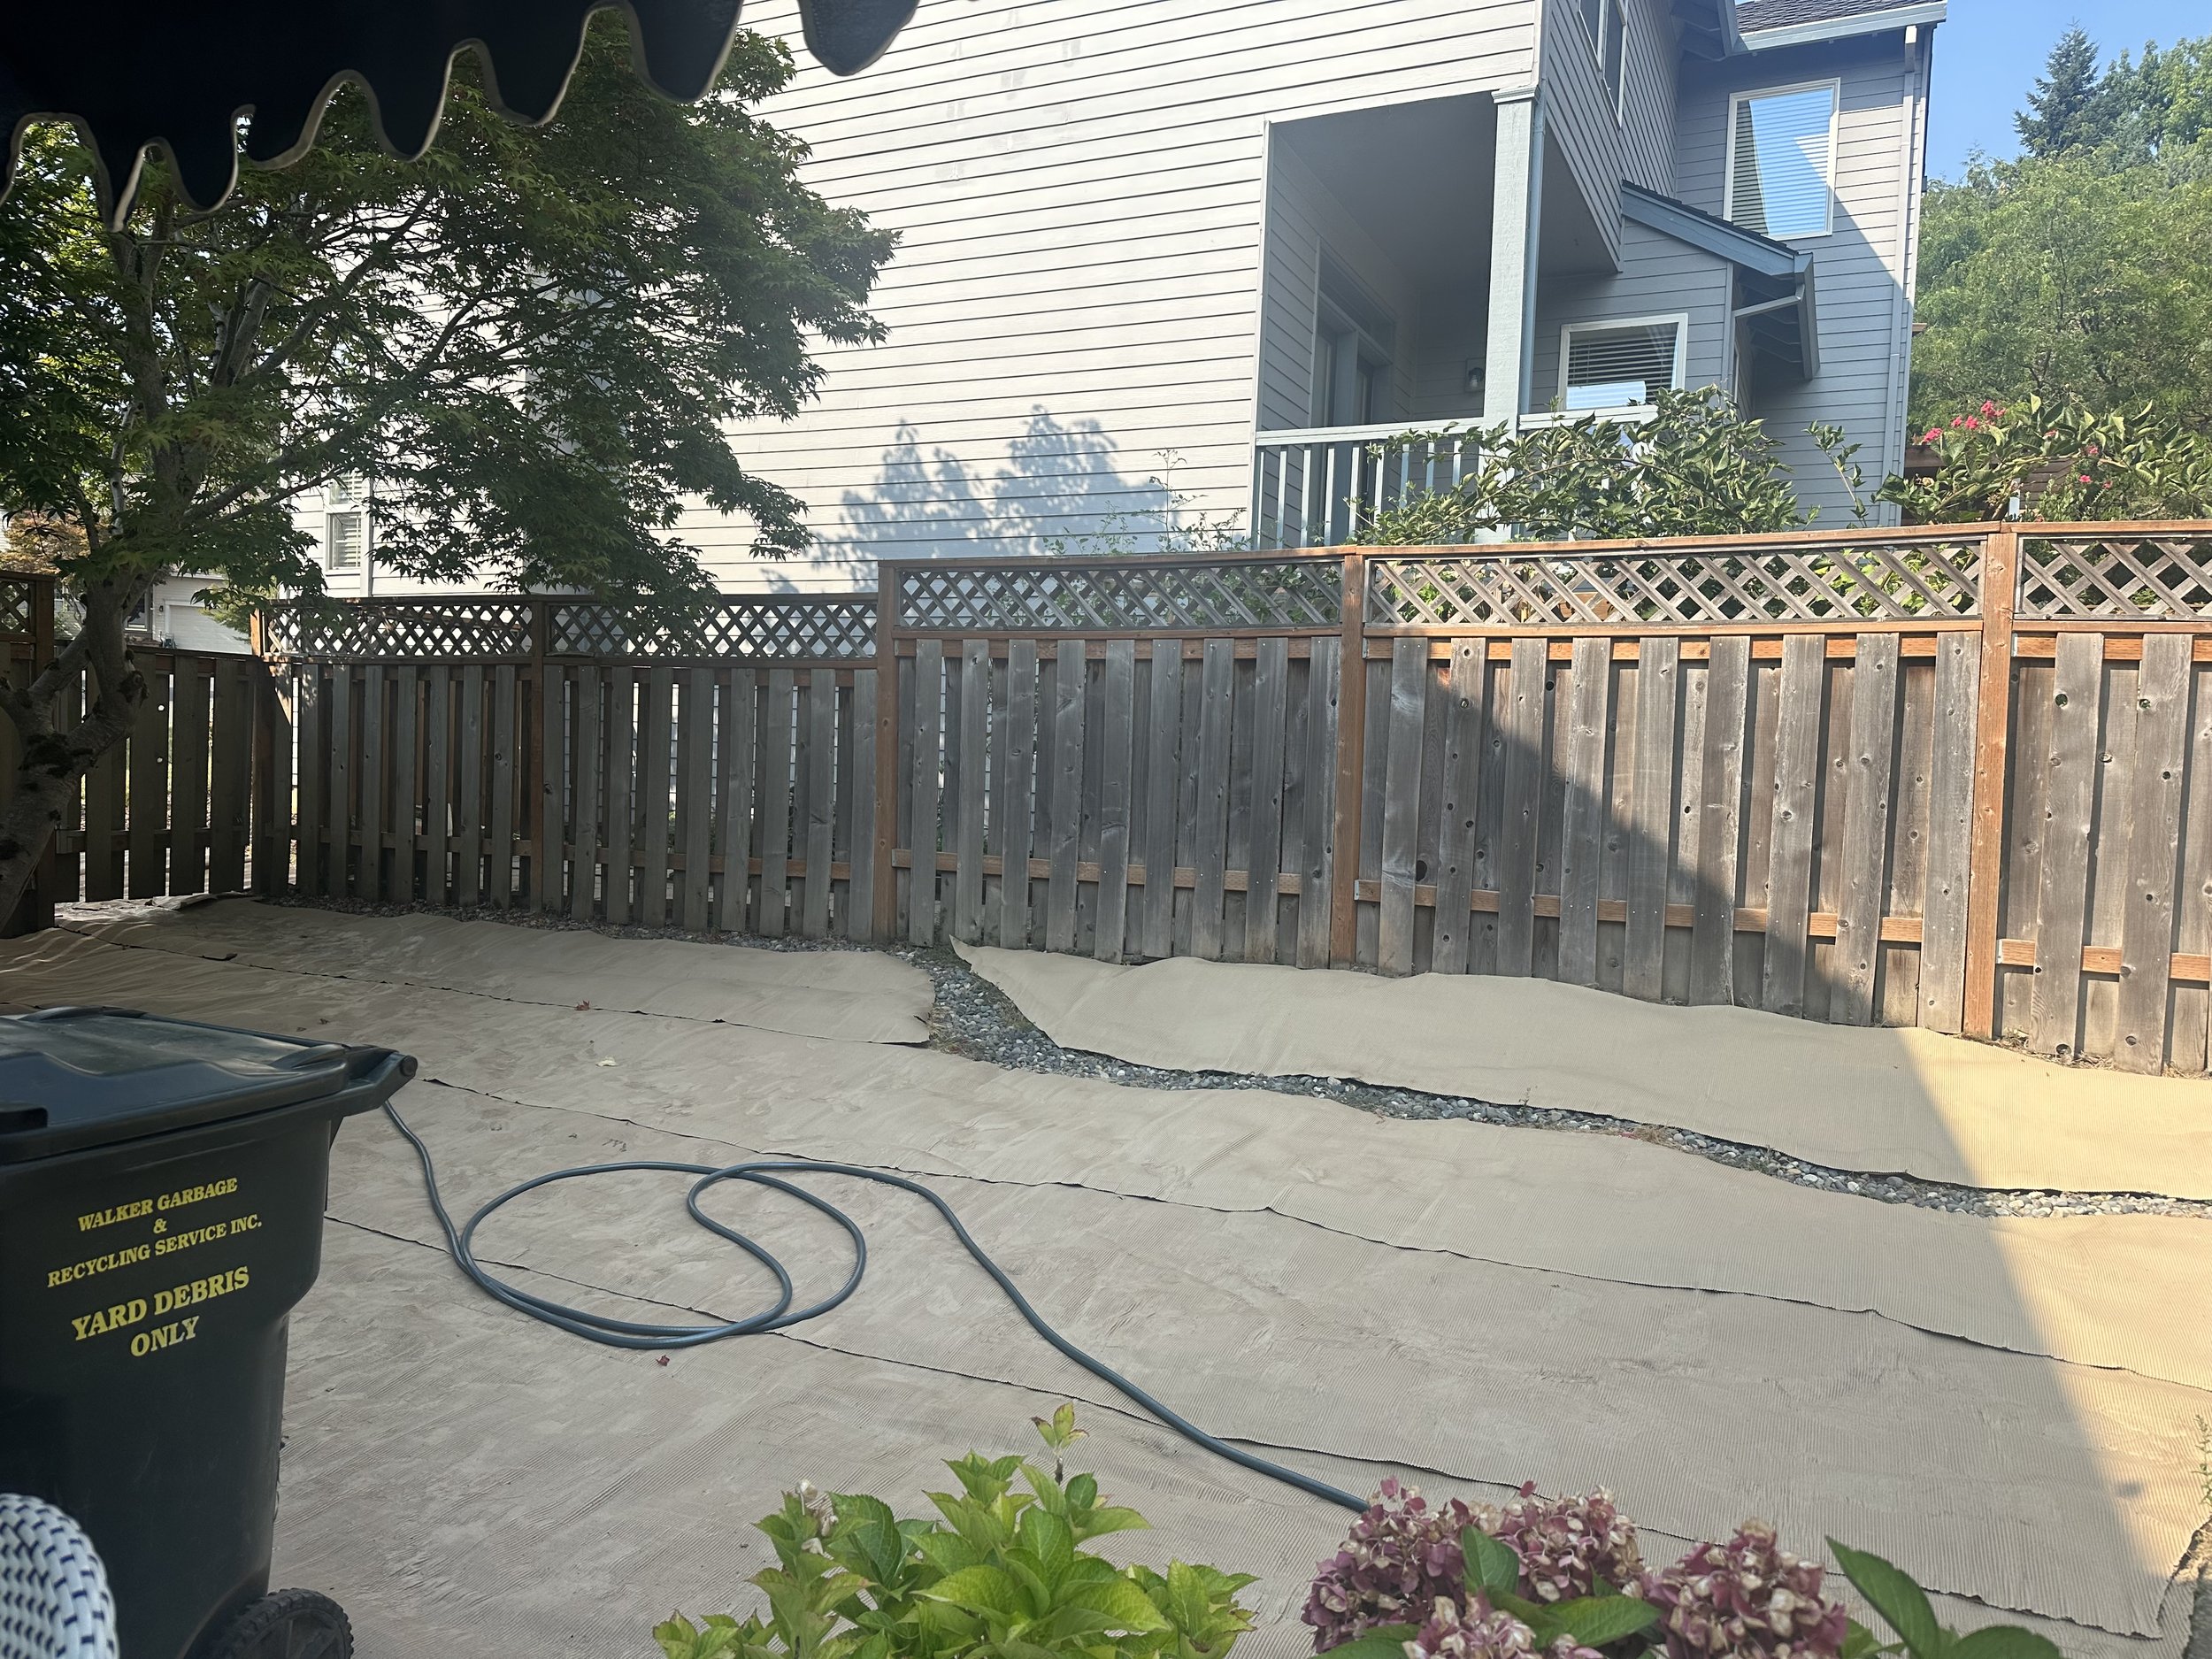
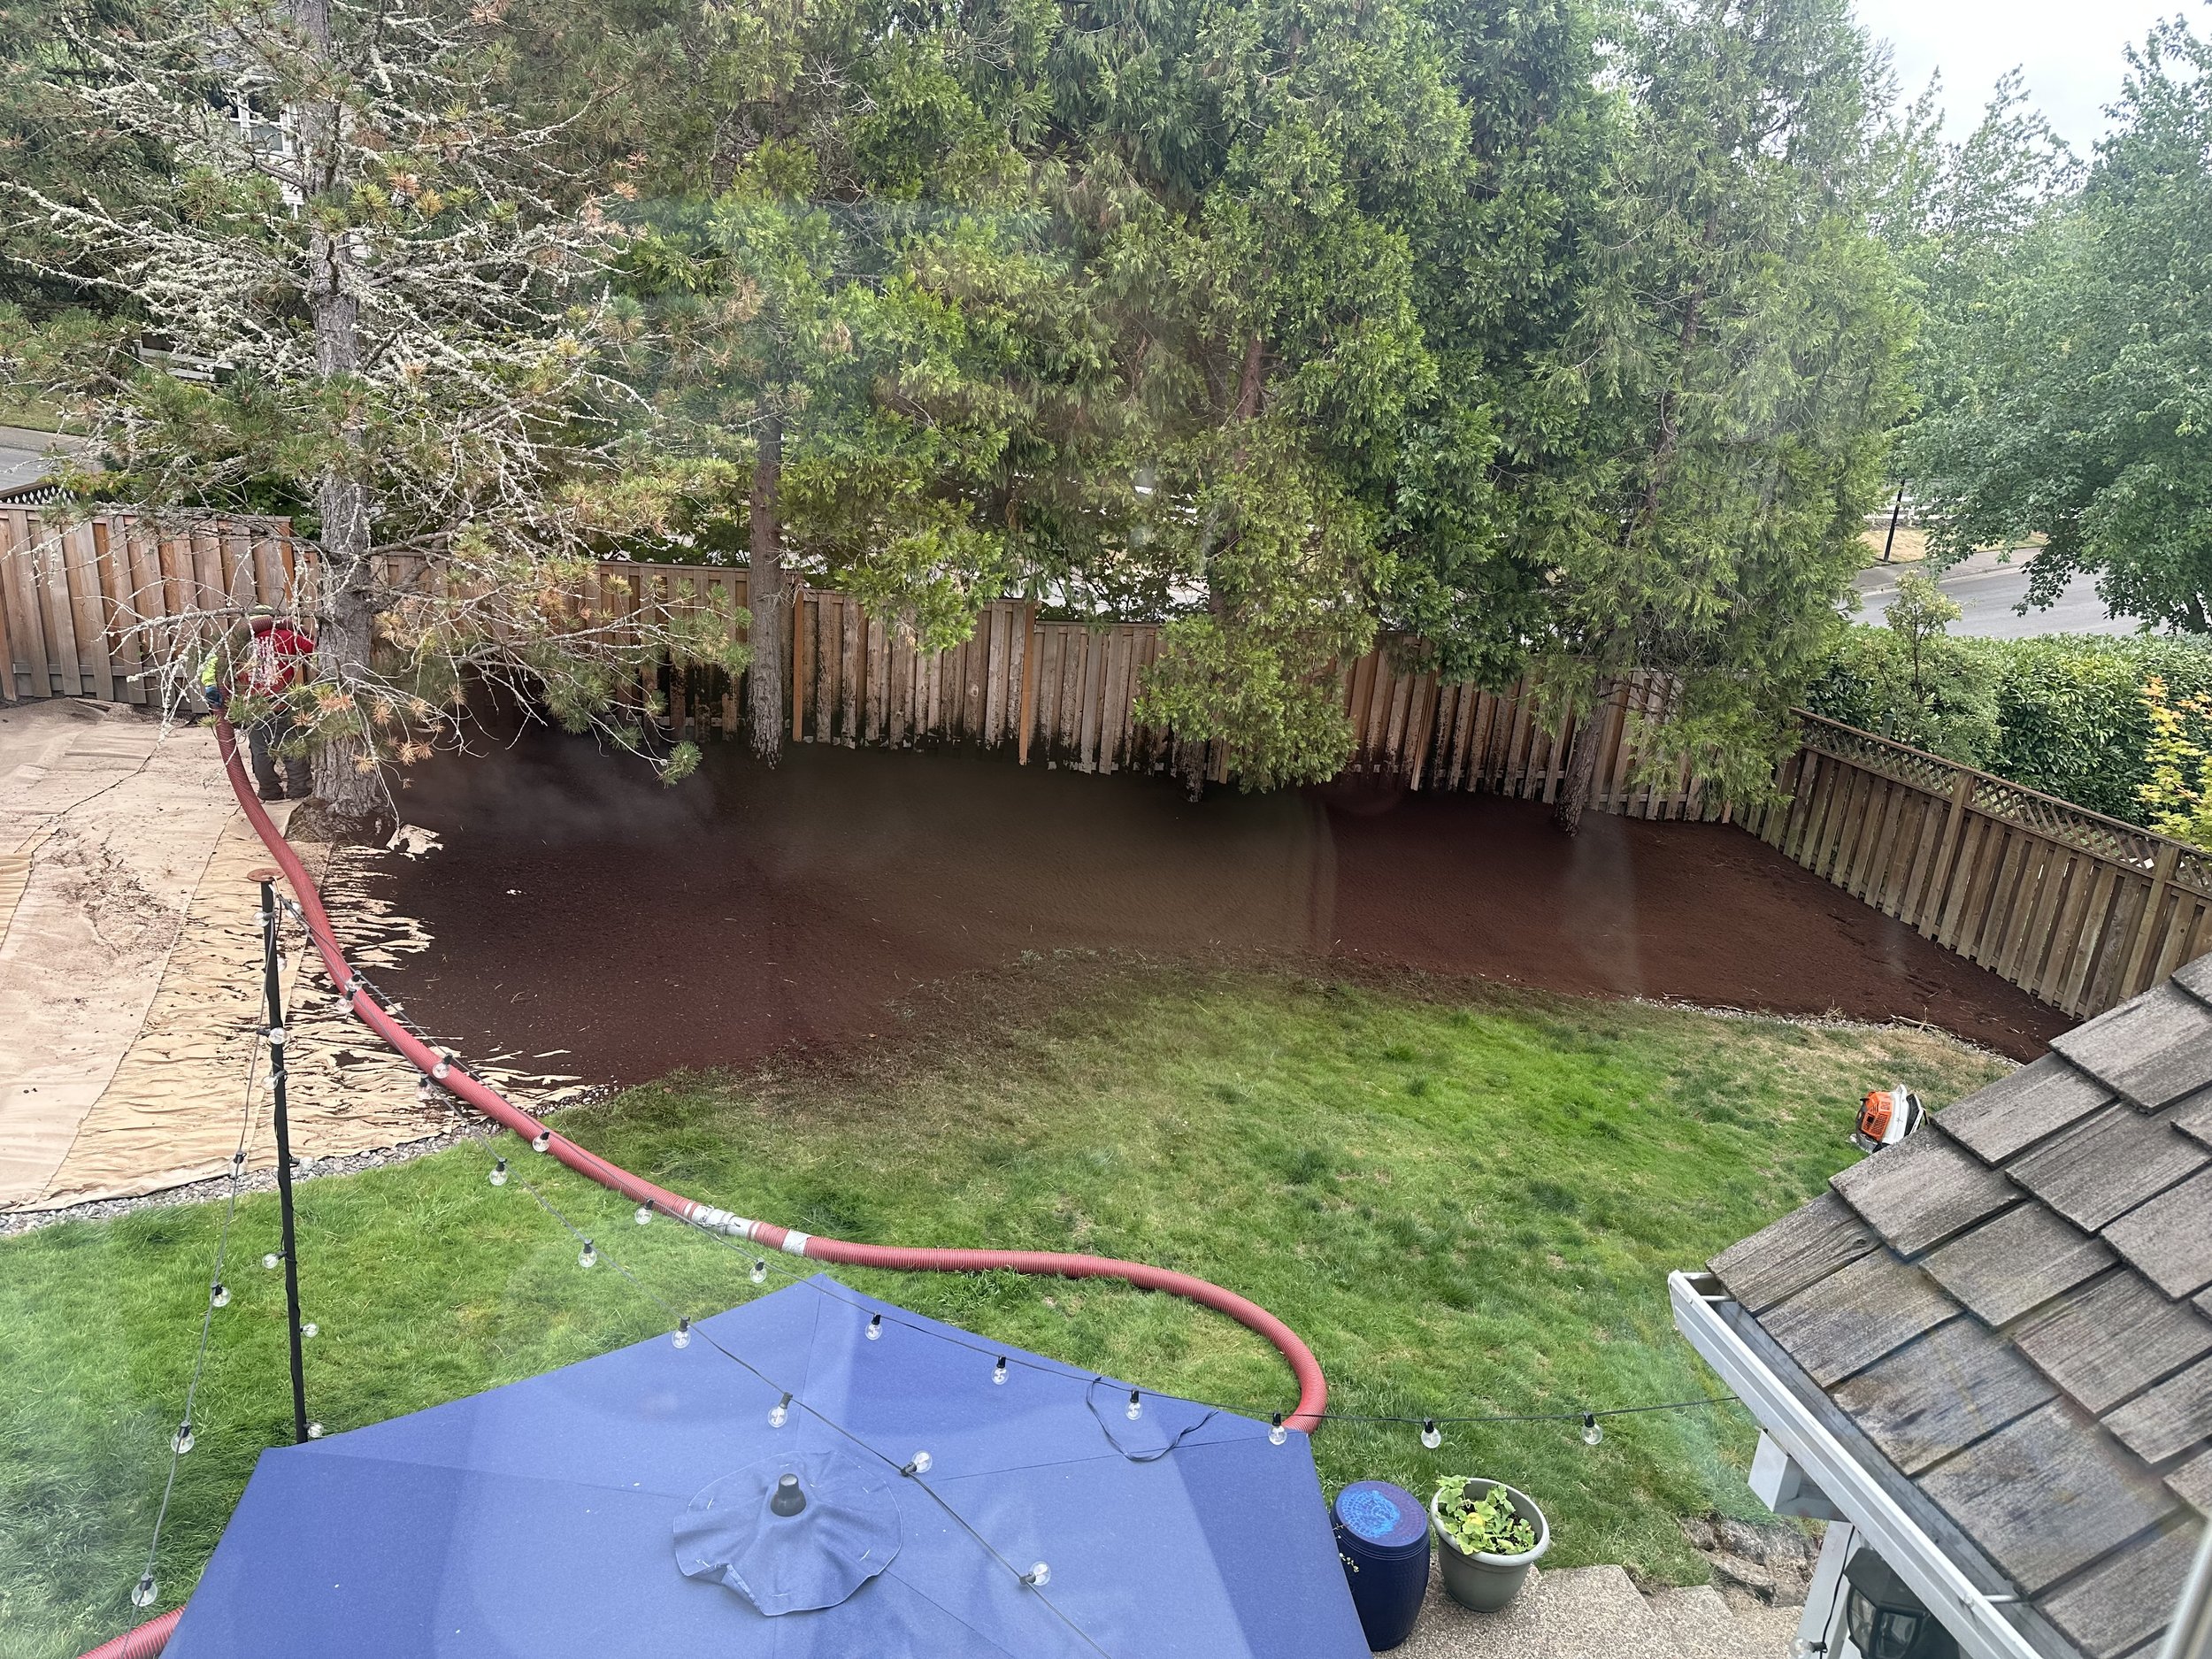
David has spent what little free time he has had this summer removing the dead bushes and plants from our yard, and we recently laid down the corrugated paper in preparation for the mulch to be blown in! We could have done the mulch ourselves but we had such a large area to cover that we opted to hire a company to blow it in, which was a great decision for us! It wasn’t cheap but they did a fantastic job, and we are so happy with how the project turned out! Our backyard still has a long way to go before we are truly happy with it, but now we have a great foundation and blank slate to start planting and designing.
Here are the steps we took to complete the sheet mulching project in case you want to sheet mulch your own yard! This explanation is heavily based on the instructions we received from Magi at Living Structures, who I would highly recommend as a landscape consultant in the Portland area!
First, a summary of why to sheet mulch vs. digging weeds, taken directly from Magi! The big advantage to sheet mulching over digging or cutting out the existing sod is this: Whenever you dig into the soil, the light that cracks into the soil signals the seeds in the soil (thousands of them) that it is time to germinate. "Weeds" are the plants that are set to take over in disturbed soil -- if there is a rule, it's that the Earth WILL be covered -- one way or another. "Weeds," after all, are just pioneer species, set to begin the healing that happens after the soil is stripped bare. So don't strip the soil bare :-) When you cover/smother/mulch as opposed to digging, you don't signal the seeds to germinate. They will germinate in the spots that you dig to plant, but that is sooooo much less than the whole thing!
Scalp the existing plants and weeds that are in the area to be sheet mulched. Either go over it with a weed whacker or a lawnmower set as low as it can go. The flatter the area, the easier and more effective the sheet mulching will be!
Dig a trench around the edges of the area to be sheet mulched. It should be at least 3-4 inches wide and deep. This helps control the spread of other rootstocks that might creep into the area.
Spread a biodegradable layer over the top of the area. You may need to tack it down to get it to lay flat. Wetting it before the next step is helpful! Punch the layer down into the trench as well.
You can use newspaper, cardboard, painters paper, or corrugated paper for this! I have heard of someone collecting free cardboard from Nextdoor and Facebook Marketplace for this step to save money. We bought 4 feet wide rolls of corrugated paper from Carton Services. Having them on rolls made spreading the layer really easy! David was able to easily cut the pieces as he went.
Spread mulch on top, making sure it is at least 3-4 inches deep. Fill the trench with mulch as well! We had the mulch sprayed in by NW Bark Blowing to save time and make it easier since we had such a big surface area.
That is it! Eventually the mulch will break down the paper layer and you can plant into the compost, cover with ground cover, or do whatever project you want! You can start planting right away, you will just need to cut into the cardboard layer if it hasn’t decomposed yet.
Here are some more resources on sheet mulching in case you want to get rid of your weeds and make your garden healthier in a relatively easy, eco-friendly way!